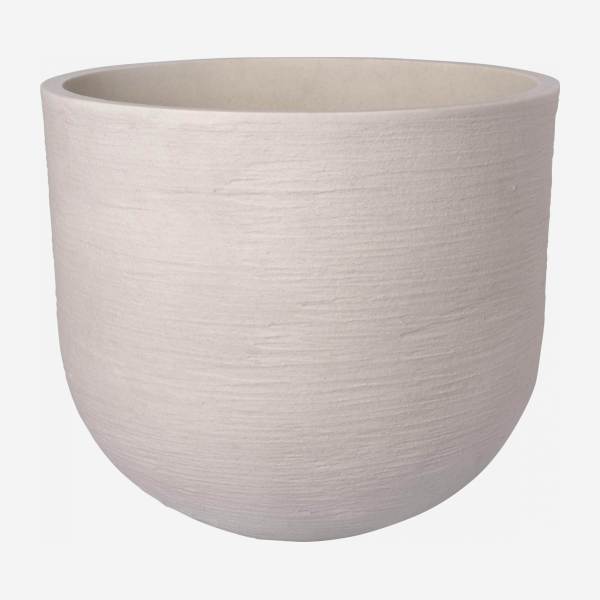
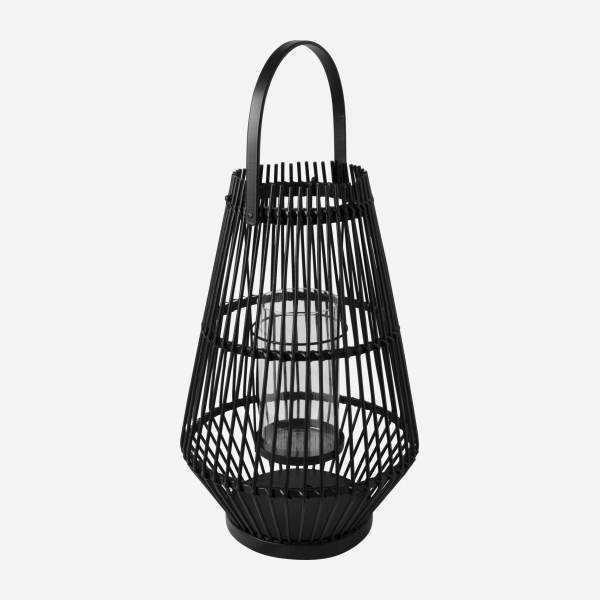
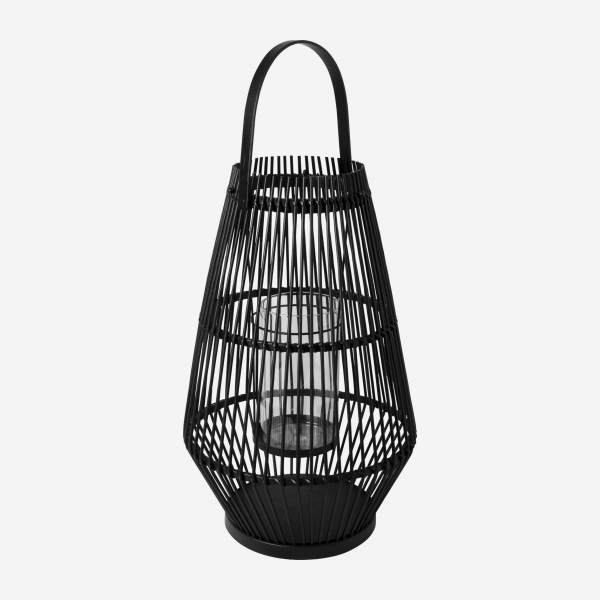
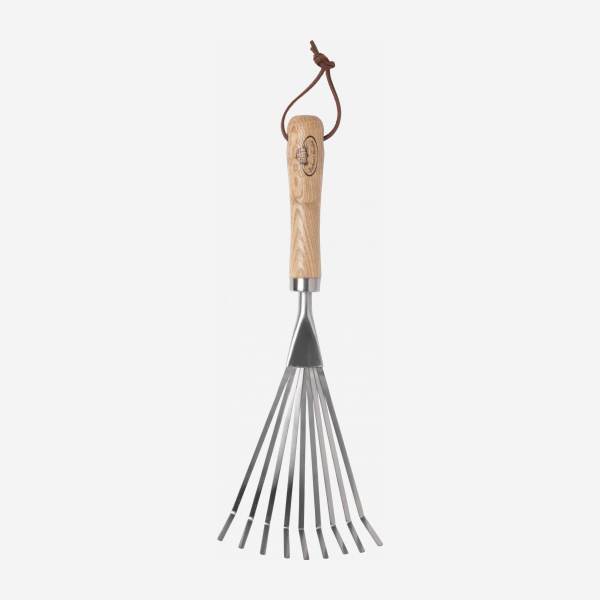
Create a Fall and Halloween-friendly Container Garden!
Halloween is coming up in less than three weeks, which means that now is the time to start decorating!
In addition to the usual carved pumpkins and spiderwebs, why not create your own fall-inspired container garden that will last all season — and beyond?
I put together the arrangement above fairly easily, and love how it complemented my other Halloween decorations.
To create a fall feel, I used just a few basic colors: orange and red (like you see on the trees as they change colors), magenta, and lime green for contrast. These colors are part of the ‘Hot’ color palette (see examples of this color palette here).
By adding a creepy spider on the side of the planter – voilà! – we’ve got ourselves a Halloween container garden that pops!
And once Halloween passes, make a swift transition to Thanksgiving by switching out the creepy crawlers for gords, dried corn and other harvest elements (see above).
How to create your own:
- Make sure you have a partially sunny area to place your arrangement. These plants prefer shade to sun.
- Go plant shopping! Pick up the following plants (numbers correspond to the photo above):
- 1) Coleus ‘Merlot’
- 2) Coleus ‘Rustic Orange’
- 3) Ipomea batatas ‘Sweet Caroline Light Green’
- 4) Chrysanthemum ‘Red’
- 5) Nephrolepsis exalta compact selection
- Bay Area resident? Pick up your plants where we got them — at Roger Reynolds Nursery — a great local nursery in Menlo Park, where the plants above cost us only $15 total.
- After planting, add some final Halloween flair in the form of a giant spider, light-up pumpkin or mummy hand. Have fun with it!
- When your Chrysanthemum flowers begin to fall off, switch it out for a similar color flower.
This article was written by Jessy Berg, professional landscape designer & co-founder of Habitat Design. Habitat Design provides full-service online landscape design planning for small and mid-sized gardens, & an online store of unique garden & home furnishings — all at an affordable price. Jessy believes that beautiful gardens should be accessible & affordable for everyone. Check out Habitat Design >
Solutions to a Dark Entryway: Ideas from the SF Flower Mart
A new Habitat client has a dark area at the entrance of her house — there’s not enough sunlight for plants to grow, and no irrigation. But for some reason there are two planting beds. What’s a person to do?
Well, on a recent visit to the SF Flower Mart, I came across a few ideas:

One thing you can do is to fill the area with beautiful objects derived from nature. Take the “trees” above, for example. They’re self-standing, and come in a variety of unique colors.
You’ll see a few photos of bamboo sticks in the photo gallery below. They would look great in a contemporary pot like the Venetian Fiberglass Planters above. By Gainey Ceramics, the pots above come in a variety of colors to suit any home. Shop Gainey Ceramics >
Check out some other ideas, courtesy of the San Francisco Flower Mart…
- These organic shaped tree trunks make a statement
- The dark bamboo would make a statement in a bright colored pot
- Yucca poles – very cool bark
- I prefer the natural color, but a painted willow form like this is nice for the holiday decorations
- 5 or 6 bamboo stalks in a pot gives a very modern feel
- Birch tree trunks – very elegant and linear
- Fiberglass pots in various colors available at shop.habitatdesign.com
This article was written by Jessy Berg, professional landscape designer & co-founder of Habitat Design. Habitat Design provides full-service online landscape design planning for small and mid-sized gardens, & an online store of unique garden & home furnishings — all at an affordable price. Jessy believes that beautiful gardens should be accessible & affordable for everyone. Check out Habitat Design >
Looking to Install an Edible Garden? Let’s Weigh the Options
With the ever-increasing locavore movement, edible gardens are in higher demand than ever before. If you’re ready to get started on yours, you should know that you have a few options…
Your first set of options has to do with style: you can make your garden edible by including raised planters with rows of vegetable — very utilitarian (as seen above). Or, you can integrate edible plants into the overall design of your garden (below). I prefer the latter.
Now, if you plan on integrating edibles into your garden design, you have three options:
- Do it yourself
- Use an online landscape design service
- Hire a designer
1. Do It Yourself
This option requires the most time, interest and ability on your part. But it’s also the least expensive option.
If you’re going to DIY, I recommend purchasing a book to help you design for your edible garden.
One of my favorites is Toby Hemenway’s book, Gaia’s Garden, available at Amazon. Billed as a ‘Guide to Home Scale Permaculture,’ Toby takes you through the planting methodology for an integrated edible design. His perspective is practical — he discusses what works best from a permaculture standpoint. From there, you can create your own garden design.
2. Use an Online Landscape Design Service
This option requires much less time, ability and energy on your part to create a design. It’s middle-of-the road when it comes to pricing.
For only $299 and up, you can use Habitat Design to get an integrated edible design — while still being able to choose your design style and color palette.
HabitatDesign.com takes you through an online process where you choose from several design options, add in a path, lighting and more. Then landscape designer Jessy Berg will create a full landscape plan and plant list for you within 5 days! Once you receive the plan, you can choose to either install it yourself or have a contractor/gardener do the install.
3. Hire a Designer
Finally, you can hire a designer. This option is the most expensive, but also the most customized.
Working with an experienced edible garden designer will get you a detailed plan based on your specific preferences.
The cost is usually based on a per-hour price. Depending on the size and details of your desired garden, a plan can run upwards of $1,000 — not including the price of hiring a contractor to install. If you’re looking for the best, Rosalind Creasy of Los Altos, CA is the grande dame of edible landscape design.
This article was written by Jessy Berg, professional landscape designer & co-founder of Habitat Design. Habitat Design provides full-service online landscape design planning for small and mid-sized gardens, & an online store of unique garden & home furnishings — all at an affordable price. Jessy believes that beautiful gardens should be accessible & affordable for everyone. Check out Habitat Design >
The Best Plants to Buy in the Fall
Fall is a great time of year to go plant shopping. There’s usually a great selection — compared to the limited plant pickings during the winter through late March.
And since not everyone knows about the benefits of fall plant shopping, you can often score some pretty great discounts.
Plants I always keep an eye out for when shopping in the fall:
Japanese Maples: The most beautiful Japanese Maples arrive in the nurseries in October and November. They come in what’s called “B&B,” which stands for “balled and burlapped”. This means that they’ve recently been dug out of ground, and haven’t yet been put into containers.
They will often still have some leaves on them, so you can see what color you’re getting. Plus, they will on the verge of entering their dormant season — so there will be even less transplant shock.
Bulbs: Fall is also the best time to buy spring bulbs. When planted in the fall, bulbs will start poking out of the ground in spring — filling your garden with color. Some of my favorites that do well in our mild winter climate are Daffodils, Alliums, Freesia and Irises.
This article was written by Jessy Berg, professional landscape designer & co-founder of Habitat Design. Habitat Design provides full-service online landscape design planning for small and mid-sized gardens, & an online store of unique garden & home furnishings — all at an affordable price. Jessy believes that beautiful gardens should be accessible & affordable for everyone. Check out Habitat Design >
Fall is Upon Us: Our Top 5 Fall Garden Must’s
With the passing of Labor Day last week, summer vacation is officially over, the kids are back in school, and white shoes are now deeply frowned upon.
But, the season of gardening is in full swing — because fall (the first day is Sept. 22nd) is actually the best time for planting, and preparing for your spring garden.
Why plant in the fall, you ask? Because:
- There’s less “transplant shock” due to the cooler, less harsh days
- The coming rains help roots get better established in their new home
- Studies show that plants installed in the fall perform much better than those planted in the spring
Now that you’re convinced, here are your top 5 fall garden to do’s:
1. Start designing: Now is the best time to think about your overall design. Ask yourself these question: Where are the empty spaces that need filling? What additional color is needed? Do I need additional hardscapes like a patio or an arbor? Would night lighting be a good addition?
When you know what you want, call up your favorite landscape designer — or [shameless plug] even try it out online!
2. Plant your springtime bulbs: People often forget to plant their springtime bulbs until it’s too late. Don’t let this happen to you! Go to the nursery and pick out your favorite bulbs for a surprise pop of color in the spring.
My favorite bulbs in the nurseries now (pictured above) are Allium, Freesia and Daffodils.
3. Divide your plants: Dividing your plants is one of the smartest things you can do in your garden because 1) you know that your chosen plant works well in your garden (health- and aesthetics-wise) and 2) it’ll save you a trip to the nursery! Most plants do well with being split up, and you can find out how to do it properly here.
4. Get some instant gratification: Plant fall perennials! Enough about planning for the future — you can pick up a variety of blooming plants that will look great during the fall. You’ll also find a variety of Sages including Russian Sage and Mexican Sage at local nurseries.
5. Three words: Mulch, mulch and mulch! I know I’m always telling you to mulch, and that’s because it’s very important. Mulch controls weeds, moderates soil temperature, reduces pests and more.
Before mulching, clean up leaves on the ground that look diseased. Then, lay down a 2″-3″ layer of mulch and you will be good to go!
This article was written by Jessy Berg, professional landscape designer & co-founder of Habitat Design. Habitat Design provides full-service online landscape design planning for small and mid-sized gardens, & an online store of unique garden & home furnishings — all at an affordable price. Jessy believes that beautiful gardens should be accessible & affordable for everyone. Check out Habitat Design >
How to Prepare for Online Landscape Design, Part 2: Photos
Taking photos of your garden is really important to understanding your garden, and which plants should go where. You might think you know the sun and shade patterns, but until you actually document them, its easy to make a mistake.
When you use Habitat Design’s online landscape design service, it’s even more important to get your sun and shade patterns right.
Luckily, as long as you take photos of your garden from the right angles at the right times of the day, you’ll be all set for your online landscape design.
Photos to take of your garden
Photo 1: Your home straight-on (see photo below): To get started, face your house. The entire property should show in the photo, from side to side. You can always get in for a close up or detail later if you think its important.
Photo 2 & 3: Angled photos toward home (see photo below): From your Photo 1 position, move to the right side edge of your property and snap a pic. Then move all the way to the left side of your property and snap another.
Photo 4: Outward-facing photo: Finally, take a photo from your house, looking outward to the street or front yard.
Remember to capture all of the property you plan to landscape, and don’t take just close-ups.
The last step: Repeat 3x: Repeat the four photos above at three different times of day: 9AM, 12PM and 3PM. That way, we’ll know how much sun each area of your yard will get.
All in all, you’ll end up with a total of 12 photos. Please name your photos according to time of day (e.g. 9AM1.jpg or 3PM3.jpg) to help us out.
By the way — There’s no need to go out and buy a professional camera for these photos. Use your cell phone if you like!
This article was written by Jessy Berg, professional landscape designer & co-founder of Habitat Design. Habitat Design provides full-service online landscape design planning for small and mid-sized gardens, & an online store of unique garden & home furnishings — all at an affordable price. Jessy believes that beautiful gardens should be accessible & affordable for everyone. Check out Habitat Design >
Two-For-Ones: Edible Plants That Look Great in the Garden
As a landscape designer, I like my garden to be in harmony — with the different elements working together and complimenting each other. So, I tend to find utilitarian rows of veggies quite the eyesore.
However, this problem is easily solved by integrating edibles into the design itself, and making edibles an attractive part of the overall landscape.
Here are some edibles that look great in the garden:
Herbs
Chives are a great addition to any garden. They’re perfect little grasses that work in all types of gardens including formal, cottage and contemporary. And their lavender flowers work perfectly in a pastel color palette.
Mix your Chives with other tasty spices like Oregano, Thyme and Rosemary. You could even throw a mini rose bush in the middle for a beautiful design that’s edible too!
Fruit shrubs
Fruit shrubs such as Carissa macrocarpa (which grow small Natal Plums) can be pruned to look like a hedge. They can actually withstand quite a bit of sheering to work in your formal or contemporary style garden.
Add veggie beds inside, and you’ve got a beautiful alternative to raised planter boxes!
Fruit trees
Fruit tree such as Lemons, Apples, Plums and Apricots are really flexible in an edible garden design. Plant a Persimmon tree and you’ll have amazing fall colors, followed by the beautiful orange fruit.
I also love the effect when you plant a row of apple trees — it works beautifully in a formal or Mediterranean style garden. You can also plant fruit trees on interesting shapes such as espaliers, pleached rows and trellises.
Have you successfully incorporated edible plants into your garden? Share with us what you’ve planted!
This article was written by Jessy Berg, professional landscape designer & co-founder of Habitat Design. Habitat Design provides full-service online landscape design planning for small and mid-sized gardens, & an online store of unique garden & home furnishings — all at an affordable price. Jessy believes that beautiful gardens should be accessible & affordable for everyone. Check out Habitat Design >
How to Prepare for Online Landscape Design, Part 1: Measurements
Once you sign up to do an online landscape design with Habitat Design, you’ll need to send us a base map. This sometimes scares clients because they’ve never taken measurements of their yard, let alone create a map of it. But never fear! Here’s how to do it (easily):
What you’ll need:
- A measuring tape – at least 25′
- Paper, preferably with a grid
- Pencil and eraser
- Clipboard or something portable to write on
Step 1: Roughly draw the outline of your garden space so it fits on one piece of paper. This is the beginning of your ‘Base Map,’ a bird’s eye view of the garden.
Step 2: Mark positions of the main items such as the house, fences, trees, paths, plants — anything you want to keep. Omit items you will remove/demolish.
Step 3: Start at your property line and add ‘running ‘ measurements to your plan. Do running measurements for all dimensions. This will help ensure you don’t miss anything, and that all dimensions add up.
Step 4: To plot any features that aren’t part of your running measurements, take measurements at right angles from the boundary to locate these features.
Step 5: Transfer these rough dimensions to a clean sheet. (It will be easier to read this way.) This also helps you to see if you’ve missed something. And you will miss a dimension — so just double check to make sure everything adds up.
And that’s it! See, not too difficult, right? Of course, if you need any help along the way you can email me at jessy@habitatdesign.com or give me a call at 800.908.6628.
This article was written by Jessy Berg, professional landscape designer & co-founder of Habitat Design. Habitat Design provides full-service online landscape design planning for small and mid-sized gardens, & an online store of unique garden & home furnishings — all at an affordable price. Jessy believes that beautiful gardens should be accessible & affordable for everyone. Check out Habitat Design >
Fountain Maintenance: How to Keep it Running Smoothly
It’s that time of the year again — when I begin preaching the benefits of having a fountain or water garden.
During a heat wave like this one, a water fountain can actually cool the area surrounding it. But oftentimes people are turned off by the idea of a fountain because they think there will be too much upkeep.
The truth is, it actually isn’t that hard to keep a fountain running smoothly. Here are a few key tips:
- Get a pump, and have it running for 6 to 8 hours a day. This will prevent algae from forming, and will also keep mosquitos from laying eggs.
- Make sure to keep your water fountain clean for the same reasons — to avoid algae from forming and mosquitos from laying eggs.
- Also make sure you use some sort of mosquito bait — or even fill your water garden with mosquito-eating fish — so you don’t get mosquitos laying eggs.
- Place your water garden away from trees and where leaves fall, otherwise the leaves will clog your pump. Place your fountain out in a sunny area to avoid the issue altogether!
- Also make sure you don’t let the water drop below the pump level (usually near the bottom). This will cause the pump to burn out.
- There are all sorts of mechanisms that do auto-refills to make sure your fountain stays full. I recommend using a jandy valve for this.
- Consider doing an underground basin for the water. You can put a grate on top of it, and then cover it with decorative pebbles. This will keep raccoons from cleaning themselves in your fountain, and will prevent safety issues.
And that’s about it! If you ever have any questions about maintaining your fountain, email me directly at jessy@habitatdesign.com.
This article was written by Jessy Berg, professional landscape designer & co-founder of Habitat Design. Habitat Design provides full-service online landscape design planning for small and mid-sized gardens, & an online store of unique garden & home furnishings — all at an affordable price. Jessy believes that beautiful gardens should be accessible & affordable for everyone. Check out Habitat Design >


